Cabinet Installation – GSCD
Cabinet Installation
FOLLOWING STEP BY STEP FOR SPECIFIC PRACTICE. YOU WILL KNOW THE DETAIL OPTIONS THROUGH THE PRACTICES.
01 OVERVIEW >02 KEY USP > 03 PREINSTALLATION > 04 CABINET INSTALLATION > 05 CABLING > 06 SYSTEM CONTROLLER > 07 EVALUATION > 08 CERTIFIED PARTNER
Step#1 Attaching unit Cabinet
- Installing frame for cabinet mounting: There are 4 points that can be fixed with M10x60L screws on the left/right side, and there are 4 points M10x60L on the top and bottom
- In the case of Training Kit (2×1), as shown in the figure, fix the 4 sides with M10x60L screws.
Step#2 Installing the cabinet
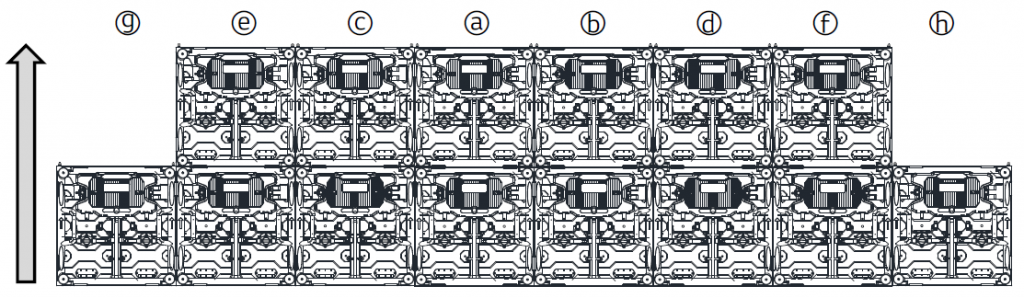
- From the middle spread to outside to finish the bottom row, see below
- Follow above to finish install from bottom to up

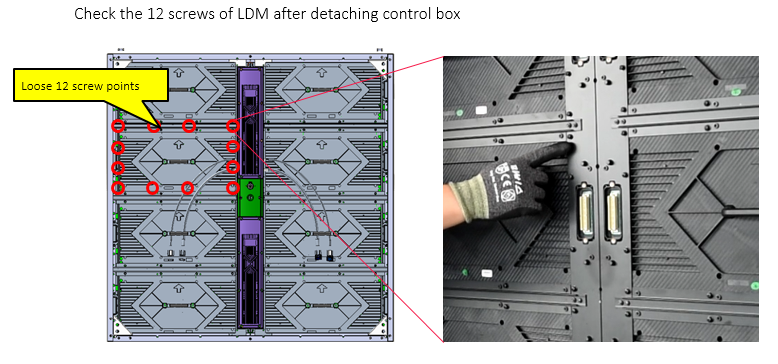
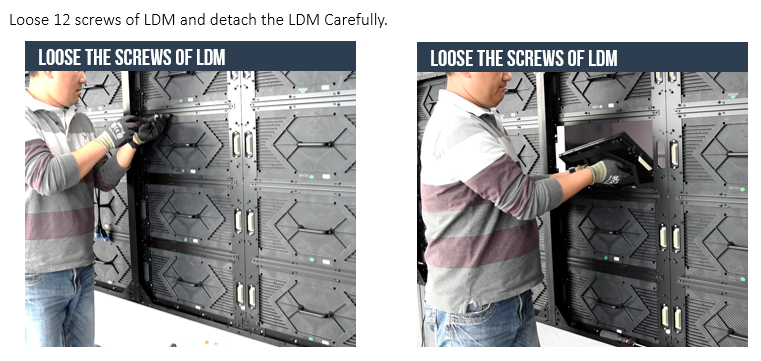
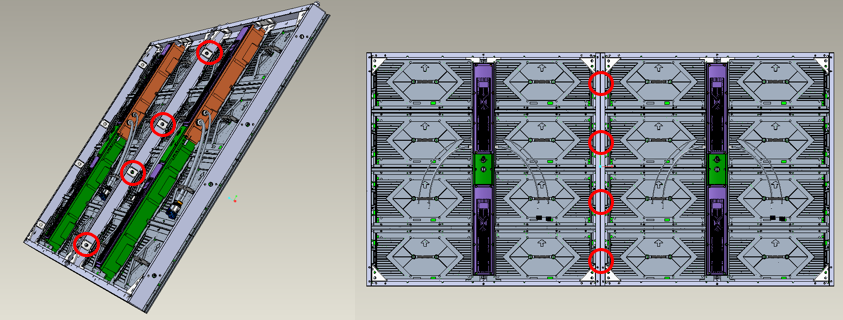
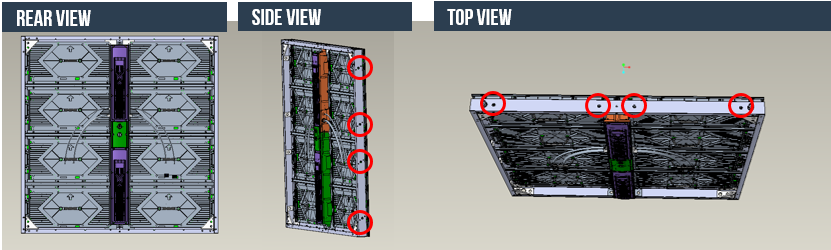
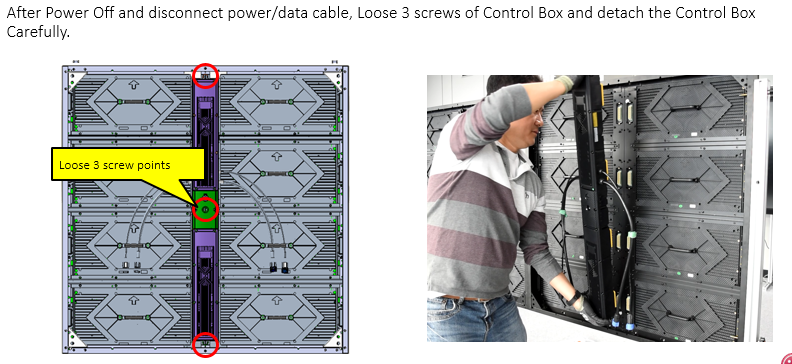
Step#3 GSCD: Maintenance
- Replacement of Control Box
- Replacement of LDM