Cabinet Installation – GSCA
Cabinet Installation
FOLLOWING STEP BY STEP FOR SPECIFIC PRACTICE. YOU WILL KNOW THE DETAIL OPTIONS THROUGH THE PRACTICES.
01 OVERVIEW >02 KEY USP > 03 PREINSTALLATION > 04 CABINET INSTALLATION > 05 CABLING > 06 LDM ATTACHMENT > 07 SYSTEM CONTROLLER > 08 EVALUATION > 09 CERTIFIED PARTNER
Step#0 : Preparatory work
- please find the data and power connection drawings.
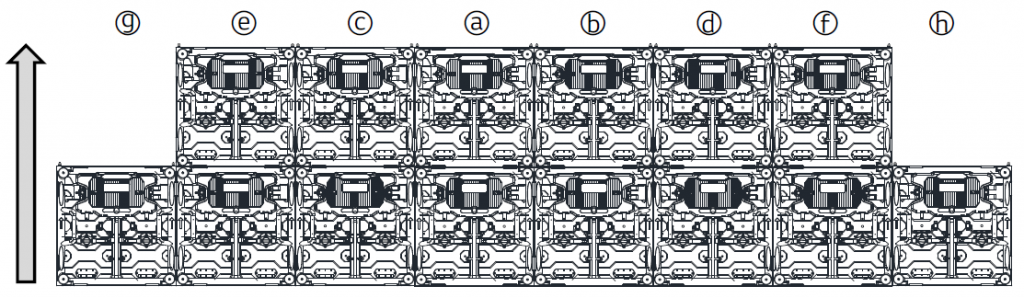
- please notice our cabinet need be install in a fixed order which shows in pic
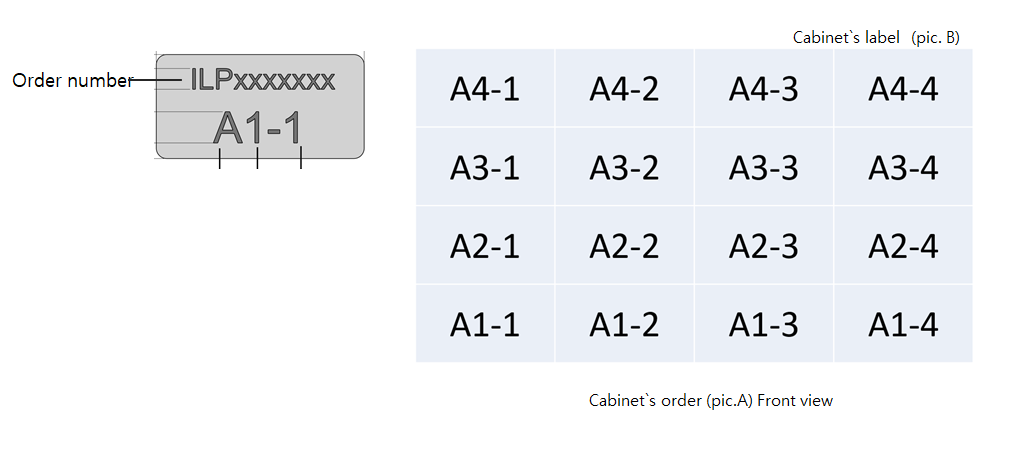
- Each cabinet have a label on the cabinet`s HUB, like pic B.
Step#1 Attaching unit Cabinet
- Check each vertical / horizontal structure with gradient and make sure all structures are straight and at a same level
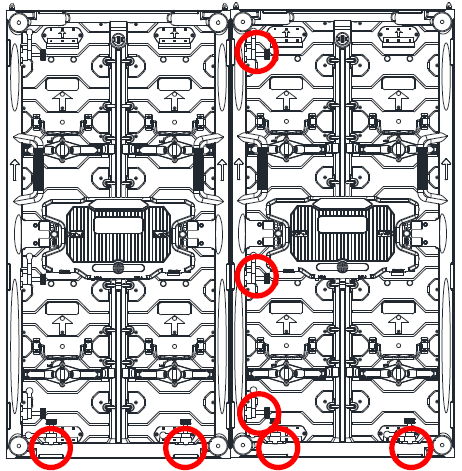
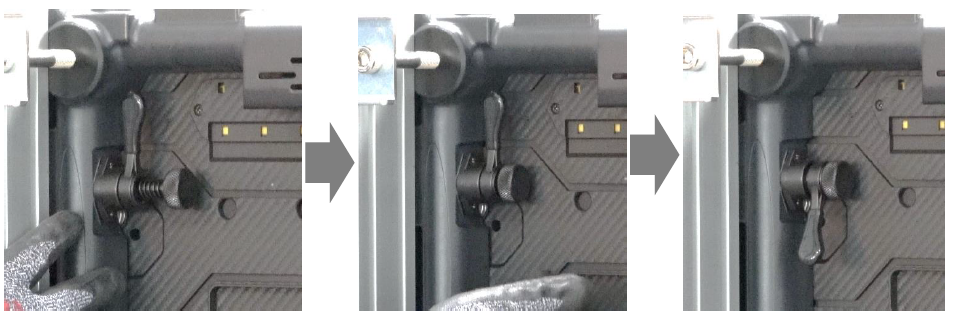
- Put 2 cabinets on the middle and tight them together with side locks then tighten them on the structure with the brackets,
Step#2 Installing the cabinet
- From the middle spread to outside to finish the bottom row, see below
- Follow above to finish install from bottom to up