Cabinet Installation – LAS-F
Cabinet Installation
FOLLOWING STEP BY STEP FOR SPECIFIC PRACTICE. YOU WILL KNOW THE DETAIL OPTIONS THROUGH THE PRACTICES.
01 OVERVIEW >02 KEY USP > 03 PREINSTALLATION > 04 CABINET INSTALLATION > 05 CABLING > 06 LDM ATTACHMENT > 07 SYSTEM CONTROLLER > 08 EVALUATION > 09 CERTIFIED PARTNER
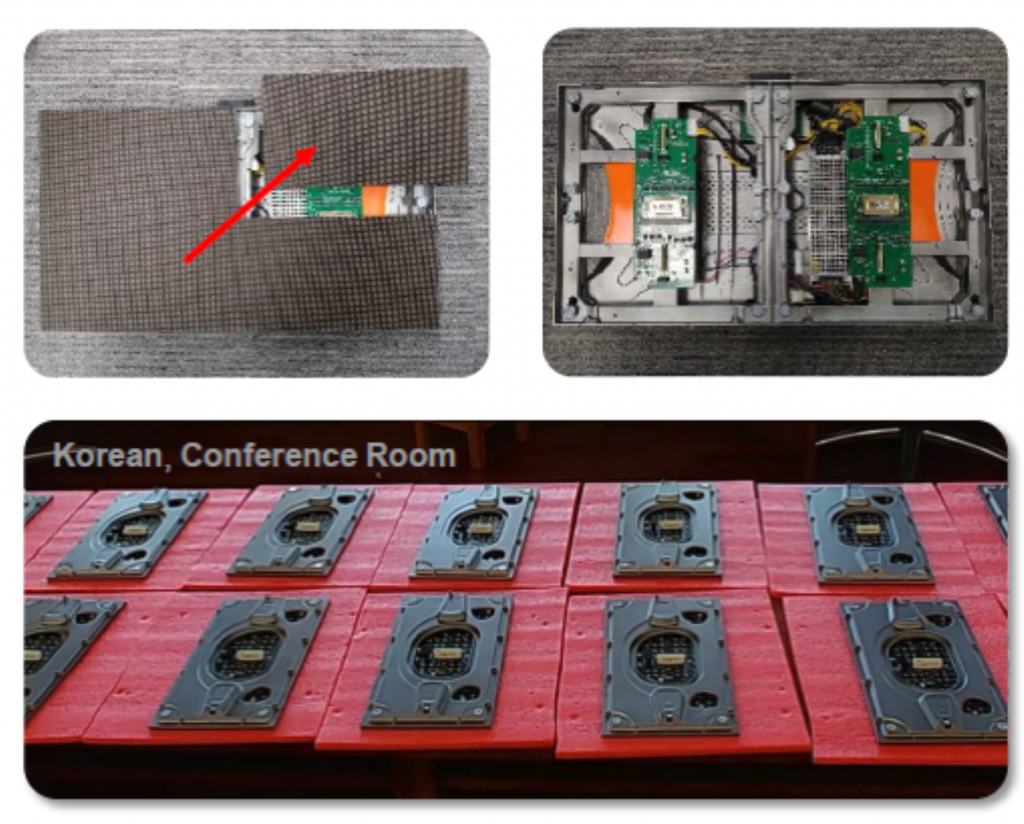
Step#0 : Module removal and storage
- Wear antistatic gloves when removing the module.
- Detach the LED Module using the provided jig
- Store the separated modules in a safe place where there is no damage to the front area
- Mark the original position of the module in the cabinet

Step#1 Installing frame for cabinet mounting
- Check the horizontal, vertical, and diagonal dimensions of the installed structure.
- The structure must be flat and vertical for a good installation.
- Check the diameter of fastening hole (For M5 Bolt)


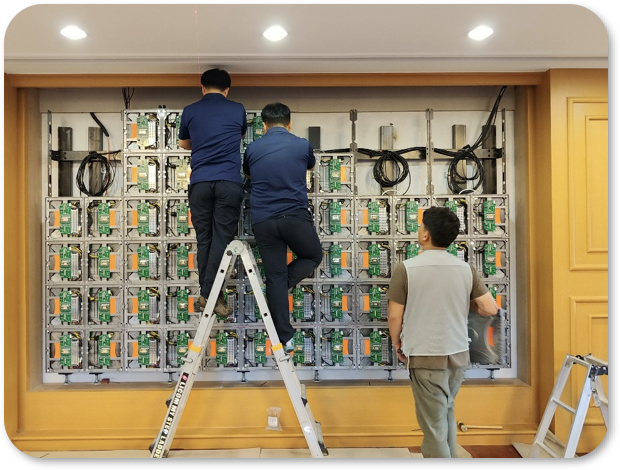
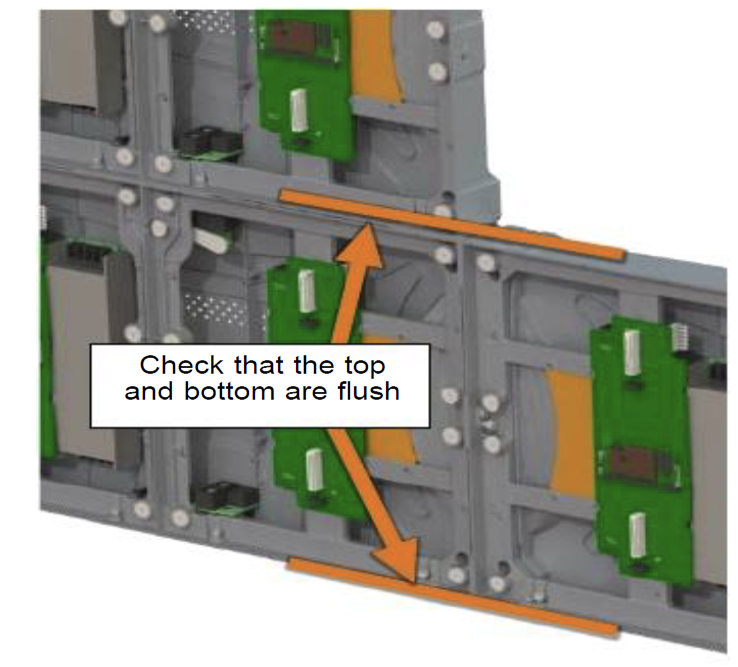
Step#2 Installing the cabinet
- Install the cabinet with the module removed.
- Connect the power and data cable while mounting each cabinet
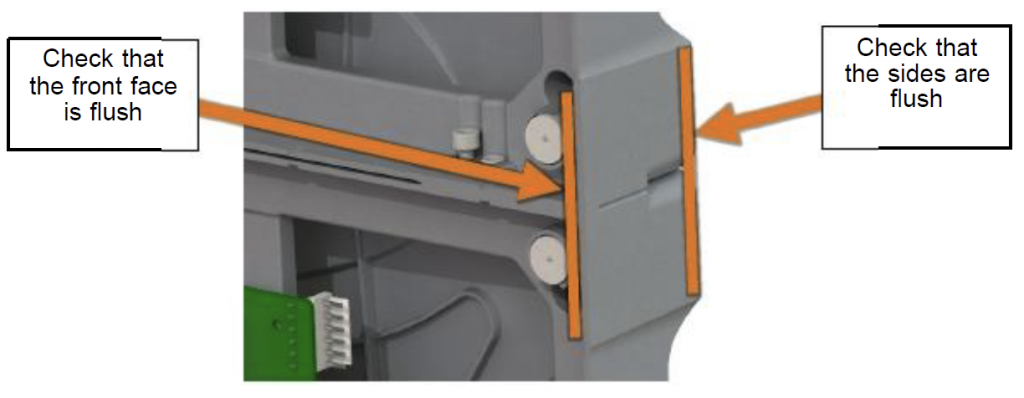
- Adjust flatness and gap between cabinets as the installation progresses
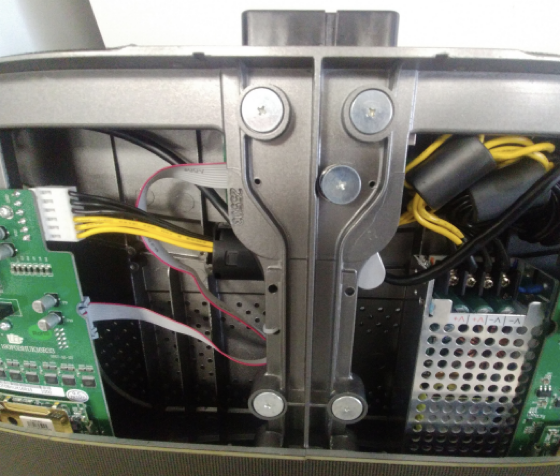
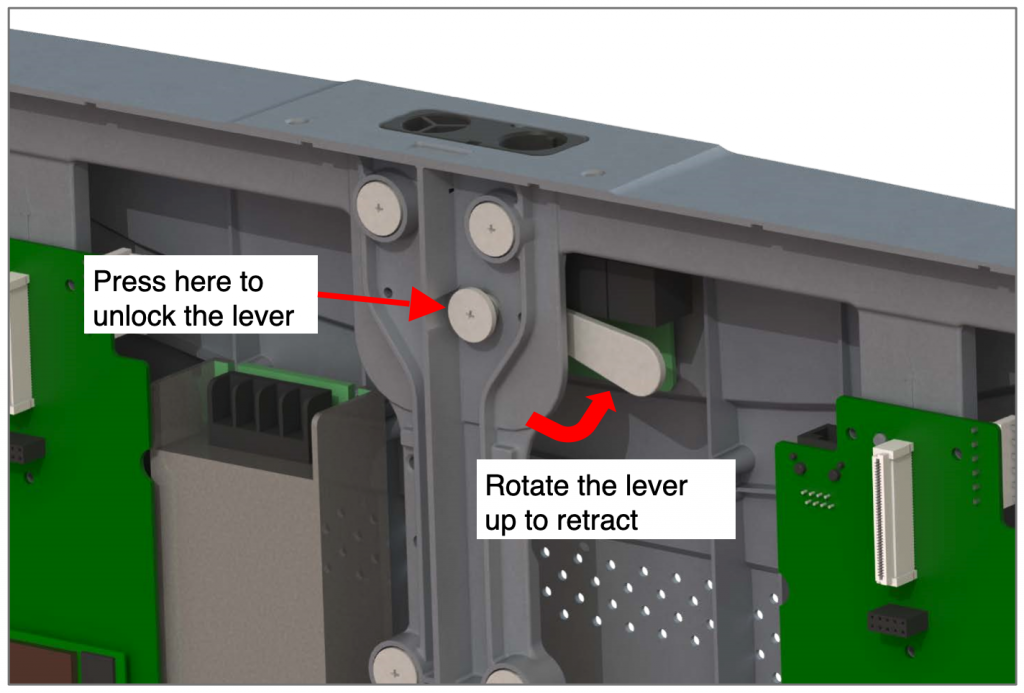
The lever must be located in the position as shown in Picture 2.1
If it is lifted up, the input connector will move down, which will cause it to have poor connection for the power connector.